
The Perfect Pumpkin: A Surface Ninja How-To
October 18, 2018
We’ve carved enough pumpkins to know that the definition of the “perfect” one varies from one Halloween enthusiast to the next. For some people, “perfect” might also mean easy. For others, the “perfect” design is also the most time-consuming.
We recognize that holiday fun isn’t a one-size-fits-all occurrence. That’s why our first ever pumpkin carving guide has a little something for everyone, regardless of how you define “the perfect pumpkin.”
Now, let’s get on with the pumpkin shenanigans, shall we? Here’s a variety of different ways to create the perfect jack-o-lantern this Halloween.
Traditional and classic
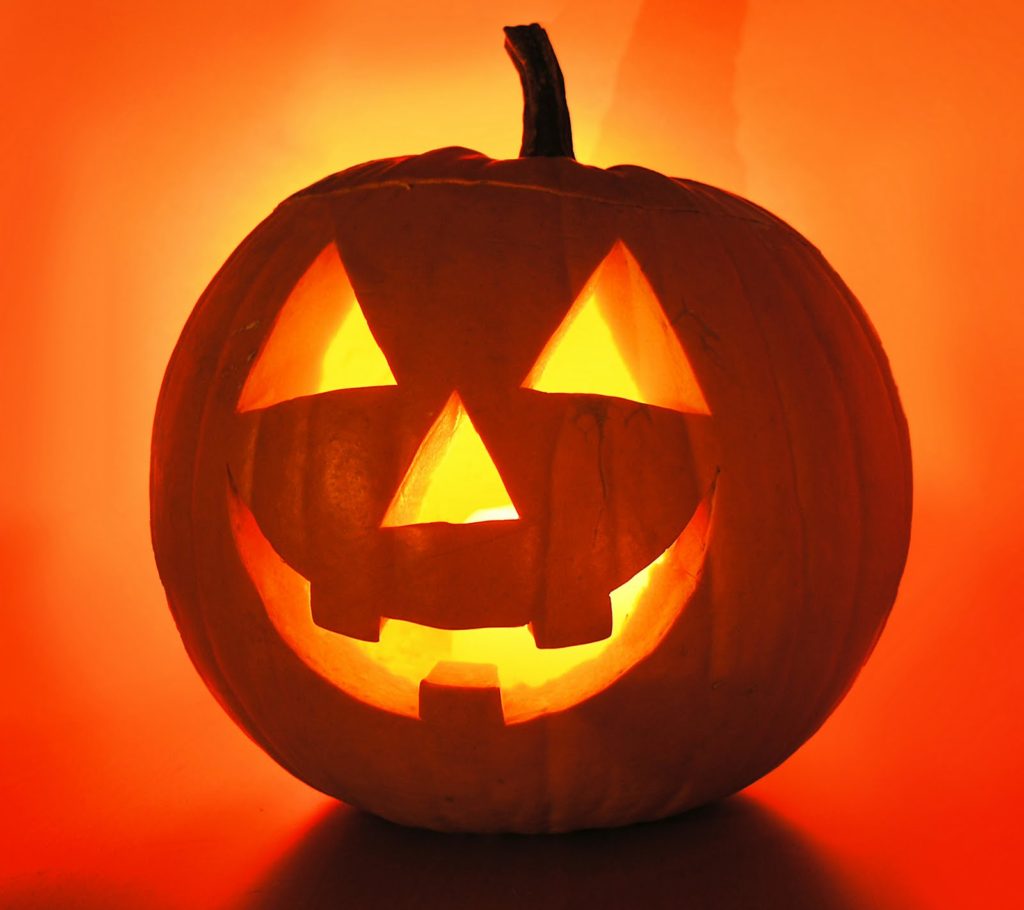
Depending on how much of a perfectionist you are, the classic jack-o-lantern design can either be super simple or quite complex. Whether you’re a measure, draw, and cut kind of pumpkin carver or a free-handed spirit, the steps to get started are the same:
- Find the right pumpkin for your design; if it’s more vertical, search for a taller/longer pumpkin. It it’s more horizontal, find a short/wider pumpkin.
- Cut out the stem and create a chimney at an angle.
- De-gut the pumpkin and scrape it clean.
- Get inspired, and map out your design or dive in, free-handed.
- Create your masterpiece.
- Sprinkle cinnamon inside your pumpkin before lighting.
Patterned for your convenience
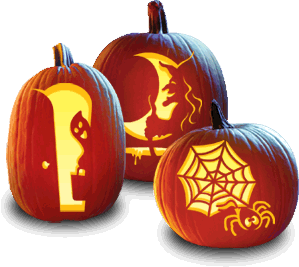
These days, pumpkin carving patterns are the go-to for a lot of Halloween lovers. Families find them to be convenient and rather simple. Booklets with a number of designs can be bought at most major retailers, like Target, Wal-Mart, or CVS. We also found some specialized options:
- Avengers pumpkin designs
- Disney princess pumpkin patterns
- Halloween words booklet or individual pattern
Unique using diorama
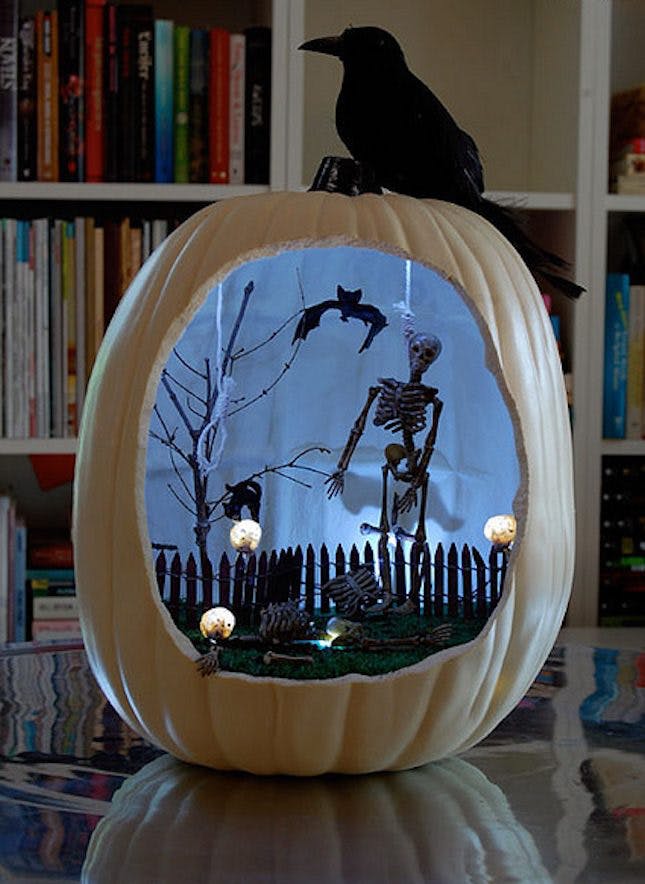
Carving a pumpkin isn’t the only way to get into the spooky spirit of the season. Ever thought about making a creepy diorama inside of a pumpkin?! All you’ll need to do is carve out the face of the pumpkin, and make sure it is extra clean from pulp and seeds. Then, shop these Halloween figurines to create a scene inside your perfect pumpkin!
No carving necessary
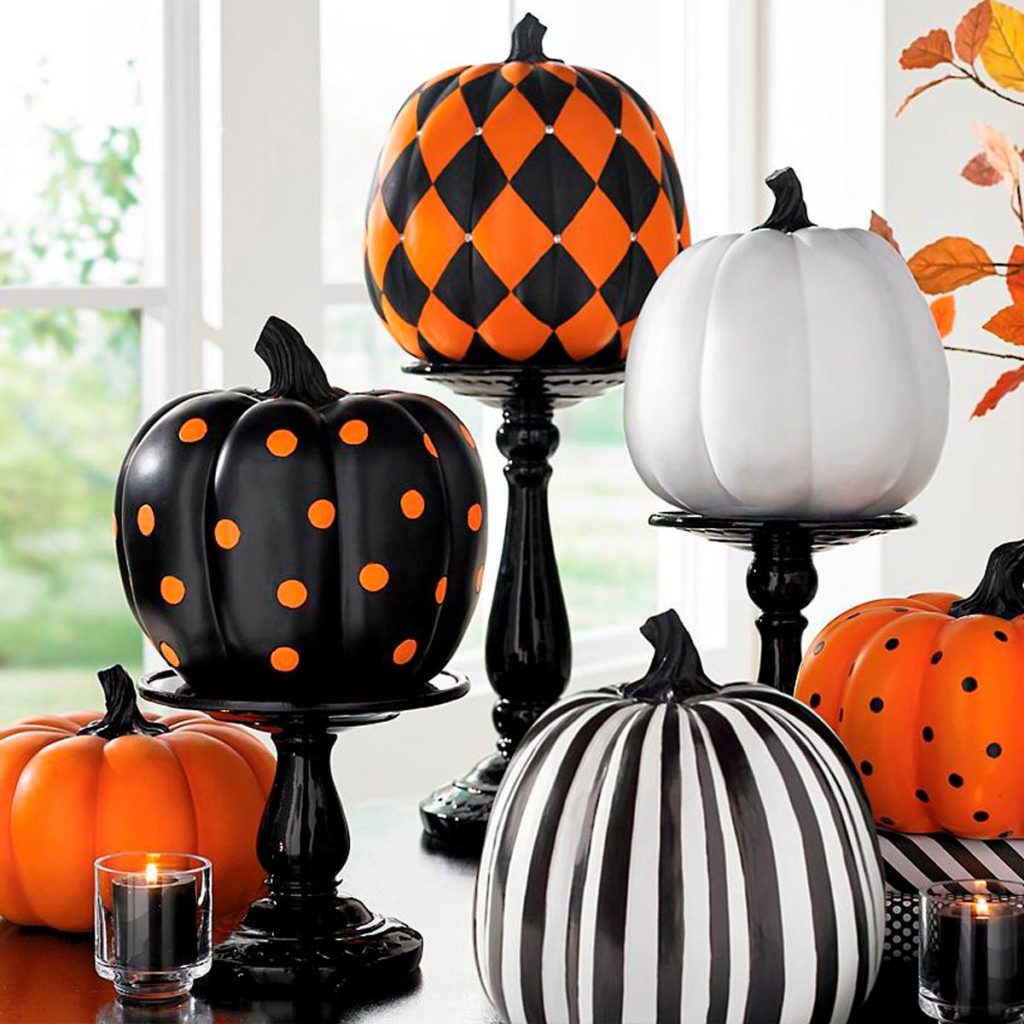
Speaking of going blade-free, painting and accessorizing pumpkins has been a trendy option that has grown in recent years. We’ve seen everything from characters and sports teams to stylized designs that match the home! Here are some good ideas to get the inspiration mill moving:
- Plaid, stripes, and polka dots
- Ribbon or string for the stem
- Glitter and rhinestones
- Fabric and construction paper
Twinkled with drill bits
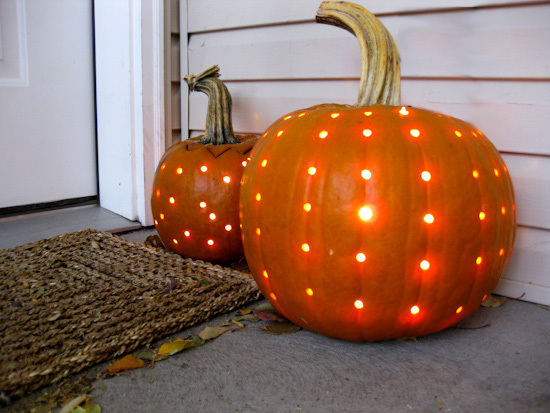
Perhaps the most simple option, making a twinkling pumpkin is easy and effective! All you need for this approach is a pencil or a marker, multiple drill bits, and twinkly lights (like these). Here’s a quick how-to for a seamless process:
- Put a towel or newspaper underneath the pumpkin
- Carve the stem out like you would for any other design
- Create your preferred design using a pencil or marker to make dots
- Drill through each dot until all are completed
- Add the battery-operated, twinkling light string inside the pumpkin
- Enjoy!
Happy Halloween!
Categorised in: Architecture & Design, Humorous, Interior Design
This post was written by Jennifer Horning